How to Install Gutter Guards in Existing Gutters with Screws
Stephen Griswell • May 21, 2026
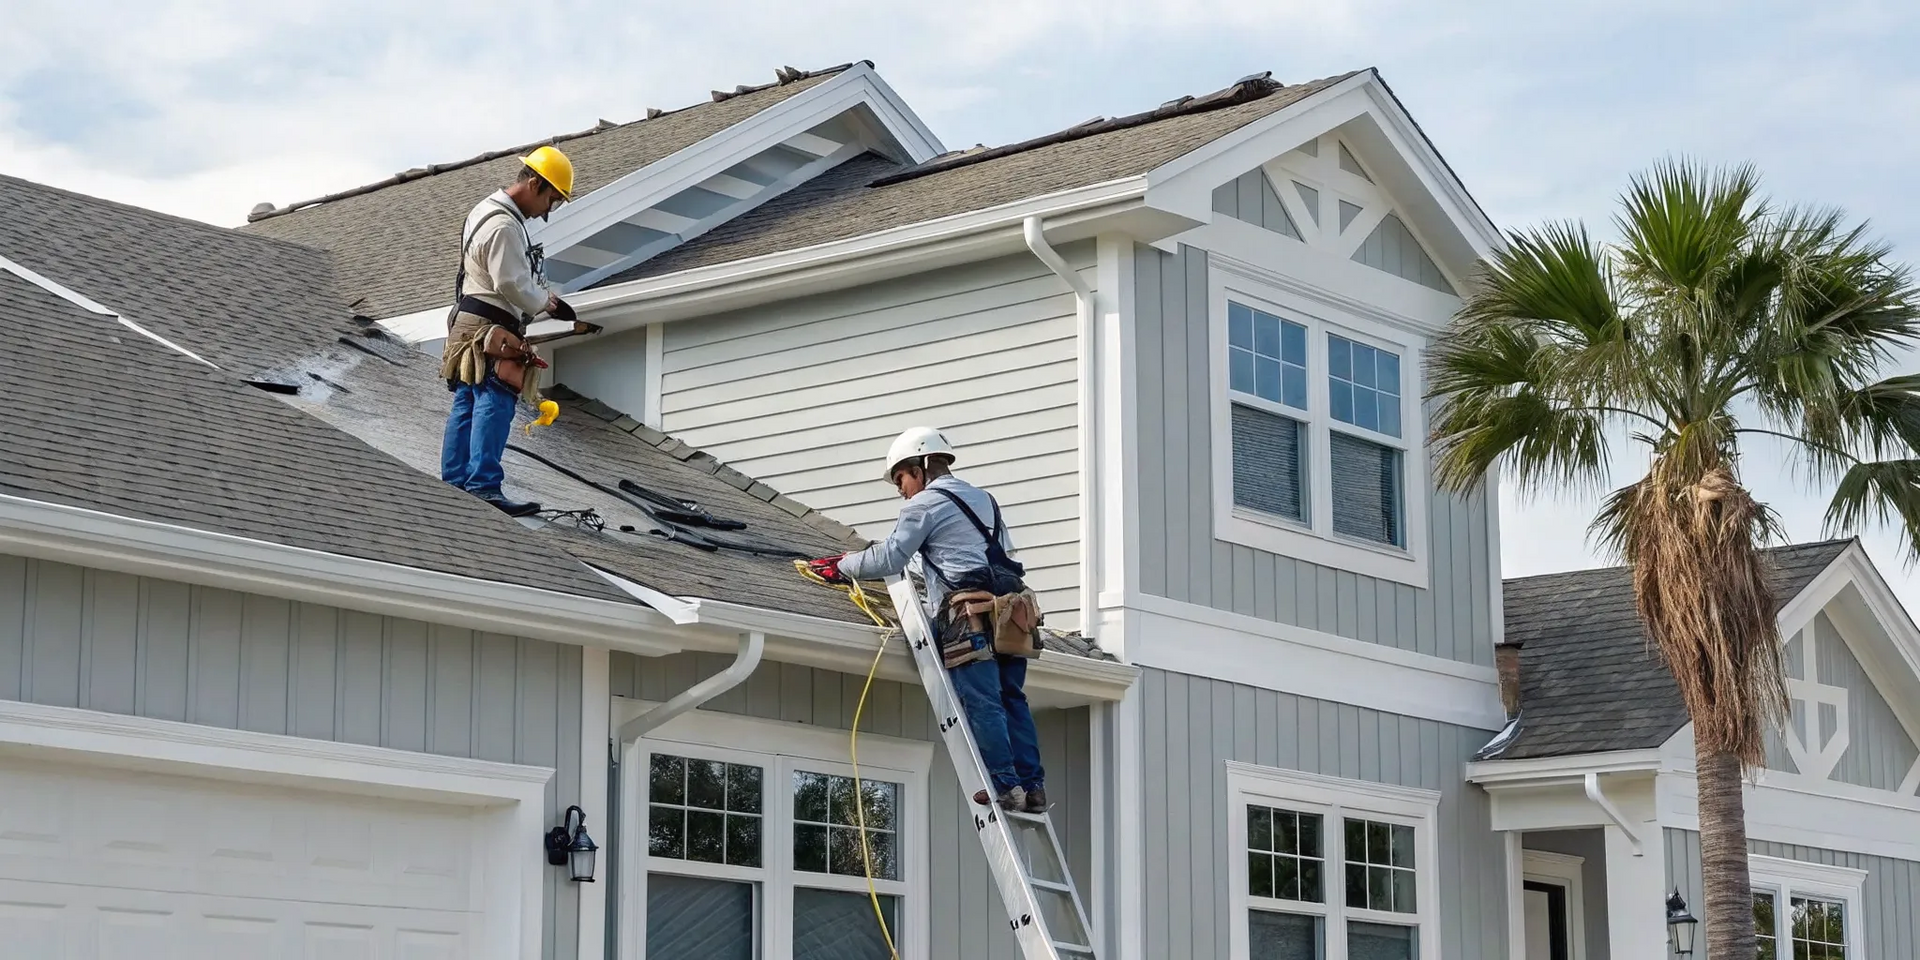
Here in Georgia, our gutters face a unique set of challenges. It’s not just leaves we’re dealing with, but a constant barrage of pine needles, oak tassels, and heavy pollen that can turn into a dense sludge after a downpour. A standard gutter guard installation might not be enough to handle our heavy seasonal rains and specific types of debris. Choosing the right materials and ensuring a flawless fit is essential for protecting your home in our climate. This guide is tailored for local homeowners, providing the specific steps on how to install gutter guards in existing gutters with screws to withstand our weather.
Key Takeaways
- Prep your gutters first: Before installing anything, you must completely clean out your gutters, inspect them for damage, and fix any issues with slope or loose hangers. Starting with a healthy gutter system is essential for your new guards to work correctly.
- Install with care to protect your home: The details of the installation matter, so always attach guards to the gutter lip, not your roof shingles, and use the right rust-proof screws. Overlapping the panels and sealing every joint is what creates a truly effective, leak-proof barrier.
- Know when to do maintenance or call a pro: Gutter guards are low maintenance, not zero maintenance, so plan to inspect them twice a year. If you're not comfortable on a ladder or if your roof is steep, hiring a professional is the safest way to get the job done right and protect your warranties.
What Are Gutter Guards and Why Do You Need Them?
If you’re tired of climbing a ladder to scoop handfuls of wet leaves out of your gutters, you’ve probably wondered about gutter guards. Simply put, they are protective coverings that fit over your existing gutters to block leaves, pine needles, and other debris while allowing rainwater to flow through freely. Think of them as a permanent solution to the never-ending chore of gutter cleaning. For homeowners in Georgia, where heavy rain and abundant trees are part of life, installing gutter guards is one of the smartest investments you can make to protect your property. A properly functioning gutter system is your home's first line of defense against water damage, and guards are the key to keeping that system working perfectly.
The benefits of installing gutter guards
The most obvious benefit of installing gutter guards is freedom from cleaning them. But the advantages go far beyond saving you time and a few risky trips up a ladder. When gutters get clogged, rainwater has nowhere to go but over the sides, which can cause serious and expensive damage. Water spilling over can erode your landscaping, stain your siding, and even seep into your foundation, leading to cracks and basement flooding. Gutter guards are your best defense against this, ensuring water is safely channeled away from your home. By preventing clogs and the weight of soggy debris, they also help your gutters last longer, protecting your investment for years to come.
Different types of gutter guards
Not all gutter guards are created equal, and the right choice for your home depends on the types of trees on your property and our local climate. Micromesh guards, for example, are a popular and highly effective option. They feature a fine screen that can block even small debris like pine needles and shingle grit while handling heavy downpours with ease. Other options include brush guards, which look like giant pipe cleaners that sit inside your gutter, and foam inserts that are simple to install. While plastic or foam guards might seem like a good budget option, they can break down over time under the strong Georgia sun. A professional can help you choose a durable material that offers the best protection for your home.
Which guards work best with screws?
Most high-quality, durable gutter guards are designed to be installed with screws for a secure, long-lasting fit. Systems made from aluminum or stainless steel, like many micromesh products, rely on screws to fasten them directly to the lip of the gutter. This creates a sturdy, permanent barrier that won’t blow off in a storm or sag under the weight of wet leaves. It’s critical to use the rust-proof screws and clips provided by the manufacturer. Attaching the guards to the gutter itself, rather than your roof shingles, is also essential. This method prevents potential roof damage and protects your roofing warranty. When installed correctly, screw-on guards provide the most reliable and permanent solution for keeping your gutters clear.
Gather Your Tools and Materials
Before you even think about touching that ladder, let's get organized. A successful DIY project starts with having everything you need right where you need it. Think of it as setting up your workstation. Gathering all your tools and materials first not only saves you from frustrating trips back to the garage but also makes the entire process safer and smoother. No one wants to be perched on a ladder only to realize they forgot the screws. This simple preparation step is what separates a weekend project from a weekend headache.
This guide will walk you through the essential items for installing gutter guards with screws. While the list is pretty comprehensive, it's always a smart move to double-check the instructions that came with your specific gutter guards, as some systems have their own quirks or included hardware. And remember, while tackling a home improvement project yourself can be incredibly rewarding, there's no shame in calling for backup. If you get started and feel like you're in over your head, our team is always ready to provide professional gutter installation and ensure the job is done right. Let's get your supplies in order so you can get started with confidence.
Your complete materials checklist
Getting your supplies together is the first real step. Here’s a straightforward checklist of what you’ll need to install your gutter guards correctly. Having these items laid out and ready will make the installation process flow smoothly.
- Gutter Guards: The star of the show.
- Drill/Driver: A cordless one with a 1/4-inch hex head bit is your best friend here.
- Self-Tapping Screws: These usually come with the gutter guards, but it's good to check.
- Tin Snips: You'll need these to cut panels to size, especially for corners or the end of a gutter run.
- Gloves and Safety Glasses: Non-negotiable safety items. We’ll talk more about these in a bit.
- A Sturdy Ladder: Make sure it’s the right height and placed on stable ground.
How to choose the right screws
The small details often make the biggest difference, and that’s certainly true for screws. Using the right ones will keep your gutter guards secure for years, while the wrong ones can lead to rust and damage. If your gutter guards came with screws, use them. They were designed for that specific system. If not, look for self-tapping, corrosion-resistant screws, like stainless steel. This prevents rust streaks from running down the face of your gutters. When you’re driving the screws, aim for snug, not tight. Overtightening can warp or crack the gutter guard material, compromising its effectiveness.
Essential safety gear
Your safety is the top priority, so let's talk protection. First, a good pair of work gloves is a must. Gutter guards and the gutters themselves can have surprisingly sharp edges. Second, always wear safety glasses. You’ll be drilling and cutting, which can send small bits of metal or debris flying. Protecting your eyes is non-negotiable. Finally, your ladder is your most important tool, so treat it with respect. Follow a proper ladder safety checklist to ensure it's stable and secure before you climb. Taking a few moments to gear up properly protects you from preventable injuries.
Prep Your Gutters for Installation
Before you even think about screwing in that first gutter guard, you need to give your existing gutters some serious attention. Think of it like painting a room; you wouldn't just slap a new color on a dirty, cracked wall, right? The same principle applies here. Installing brand-new guards on old, clogged, or damaged gutters is a recipe for frustration. You’ll end up with the same overflow problems you were trying to solve, and you might even cause more damage. A little prep work now saves you a massive headache later. Taking the time to properly clean, inspect, and repair your gutter system ensures your new guards can do their job effectively, protecting your home from water damage for years to come. This preparation is a non-negotiable part of any successful gutter guard installation.
Step 1: Clean out debris and flush the downspouts
Your first task is to get your hands dirty and clear out everything that’s accumulated in your gutters. Remove all the leaves, twigs, shingle grit, and any other debris. A gutter scoop or even a garden trowel works well for this. Once the big stuff is gone, flush the entire system with a garden hose. This helps wash away the smaller particles and will quickly show you if your downspouts are clogged. Make sure the gutters are securely attached to the fascia board, and repair any loose hangers you find along the way. A clean slate is essential for a successful installation.
Step 2: Inspect for damage and leaks
With your gutters clean, it’s time for a thorough inspection. You’re looking for any signs of wear and tear. Check for cracks, holes, or areas where seams might be separating. Look for rust on metal gutters. Pay close attention to whether any sections are sagging or pulling away from the house, as this indicates a problem with the hangers or the fascia board itself. If you find leaks or significant damage, these issues must be addressed before you proceed. Putting new guards on broken gutters won't fix the underlying problem and can lead to more serious water damage to your home's foundation and siding.
Step 3: Check and correct the gutter slope
For your gutters to work correctly, they need to have the right slope. Water needs gravity to help it flow toward the downspouts. If the gutter is level or, worse, sloping away from the downspout, water will pool and eventually overflow. The ideal slope is about a quarter-inch drop for every 10 feet of gutter. You can check this with a level. If the slope is off, you’ll need to adjust the gutter hangers to correct it. This step is critical because standing water can lead to rust, attract pests, and become a breeding ground for mosquitos.
Step 4: Make sure downspouts are clear
Even if your gutters are spotless, a clogged downspout will stop the whole system from working. As you flush your gutters, watch how the water flows out of the downspouts. If you get a trickle instead of a strong flow, you likely have a blockage. Often, clogs form at the elbow where the gutter meets the downspout or at the bottom where it drains away from your house. You can usually clear these with a plumber’s snake or by using a high-pressure nozzle on your hose from the bottom up. Clear downspouts are essential for your new gutter guards to function properly.
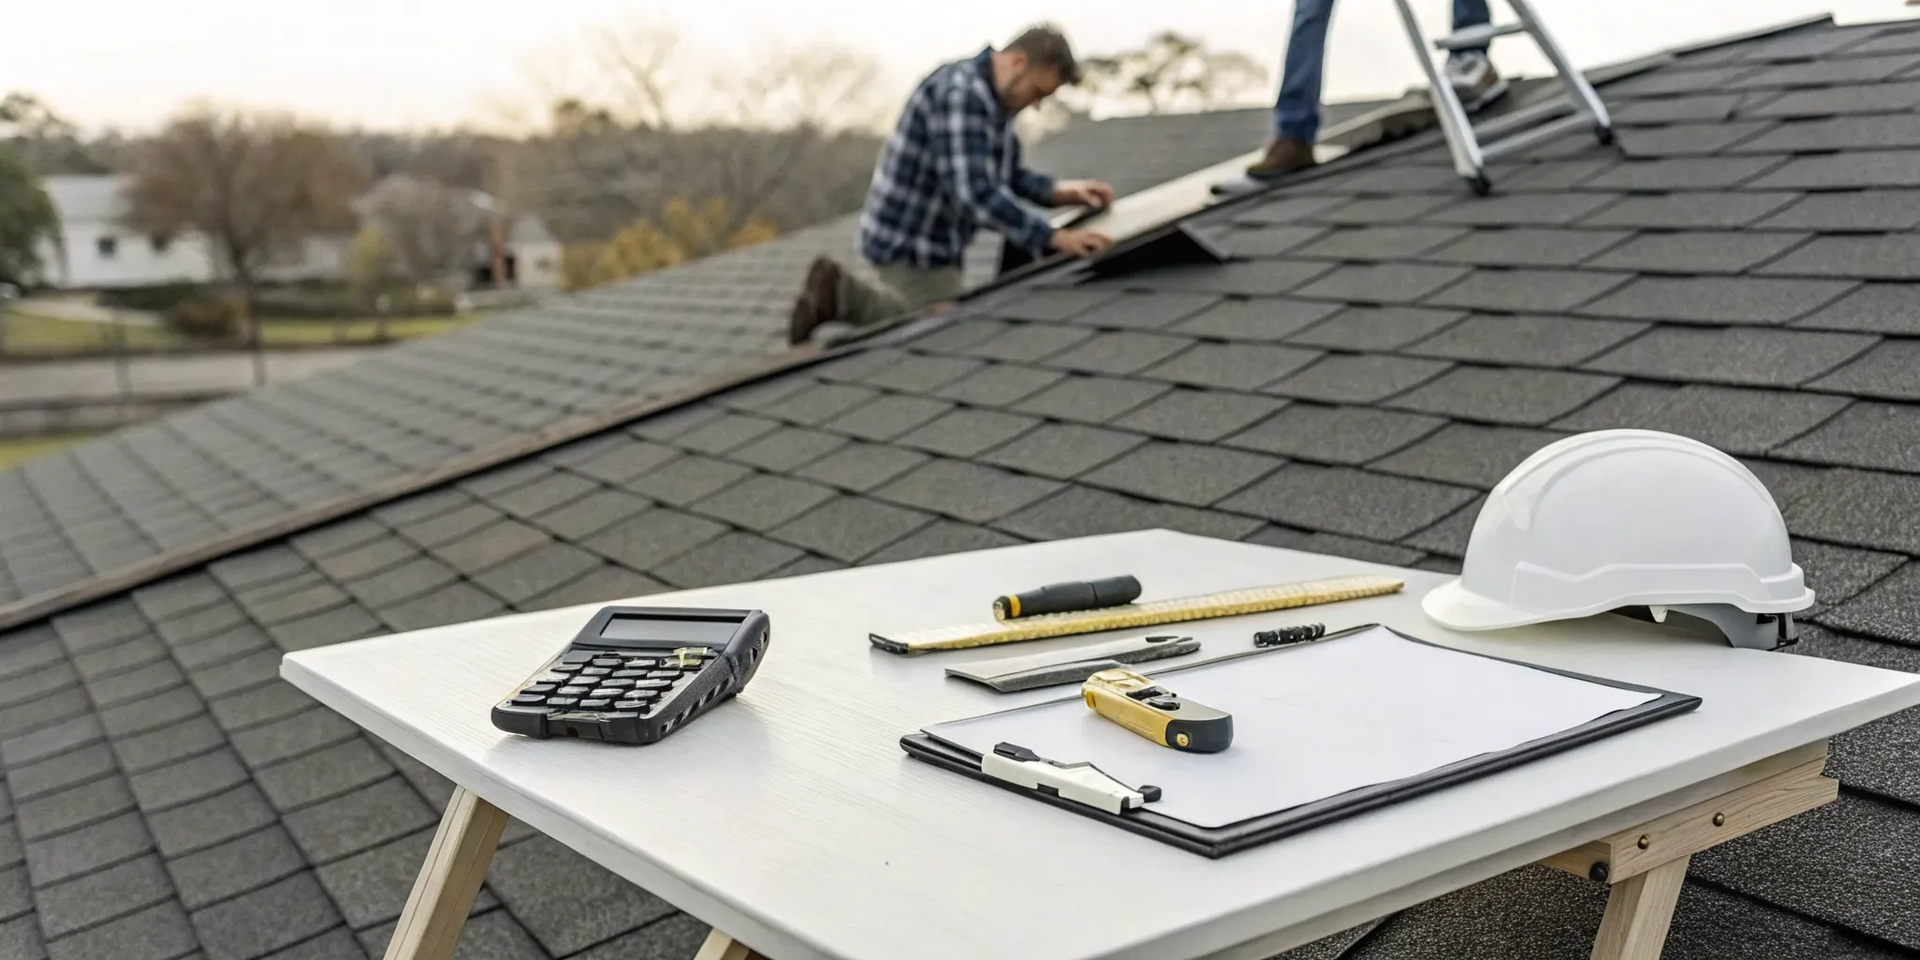
Step 5: Measure your gutters accurately
Before you buy your gutter guards, you need to measure your gutters accurately. Most gutters are a standard five or six inches wide, but it’s always best to measure yours to be sure. Measure the width from the back edge (against the fascia) to the front lip. You’ll also need to measure the total length of your gutter runs to know how many panels to purchase. An ill-fitting guard can create gaps that allow debris in, defeating the purpose of the installation. The guard should line up perfectly with the outer edge of the gutter for a secure and effective fit.
How to Install Gutter Guards with Screws
Alright, you've got your tools and your gutters are prepped. Now for the main event: installing the guards. This process requires patience and attention to detail, but taking it one step at a time makes it manageable. Follow these steps carefully to ensure your new gutter guards are secure and effective. If you start the project and feel like it's more than you bargained for, remember that our team is always here to help with professional gutter services.
Step 1: Set up your ladder safely
Safety first, always. Before you climb a single rung, make sure your ladder is on stable, level ground. It’s also a good idea to have someone spot you. Give your gutters a quick check; are they firmly attached to the fascia? If you notice any loose hangers or wobbly sections, fix them now. Working on an unstable gutter system is a recipe for an accident. Professional installers are trained in ladder safety and have the right equipment to work securely at heights, which is something to keep in mind if you feel at all uneasy about this part of the job.
Step 2: Position the first gutter guard panel
Let's get the first piece in place. Start at either end of a gutter run. Most screw-in gutter guards are designed to be pretty intuitive. You’ll typically clip one side of the panel onto the front lip of the gutter. The back edge will then either rest flat against the fascia board (the board behind the gutter) or slide just underneath the first row of your roof’s shingles. Don't force it. The panel should sit snugly without you having to bend or warp it. A proper fit is the foundation for the entire installation, so take your time getting this first panel just right.
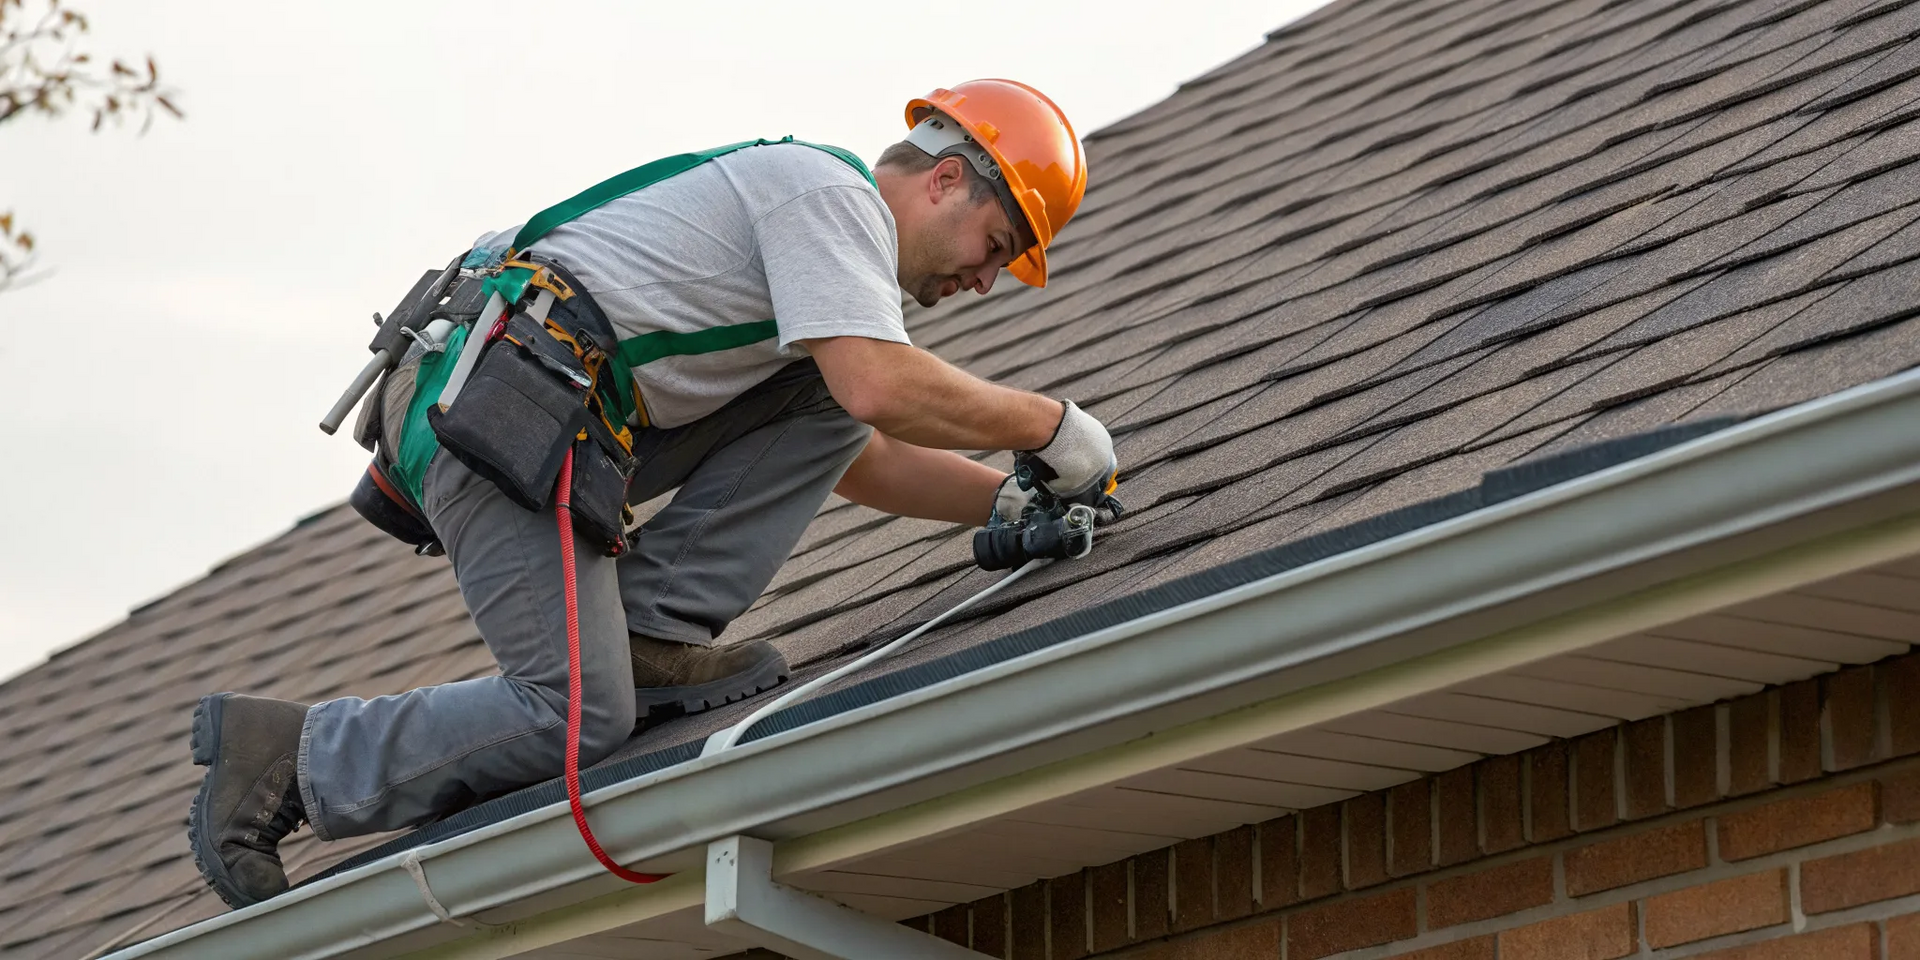
Step 3: Secure the guard with self-tapping screws
With your first panel positioned, it's time to lock it down. Grab your drill and the self-tapping screws. These screws are great because they drill their own pilot hole, making the job a bit faster. Drive the first screw through the front of the guard and into the gutter's front lip. Add another screw at the other end of the panel. For wider gutters or for extra peace of mind, you can add another screw in the middle of the panel. The goal is a secure fit that won’t rattle or shift during heavy rain or wind.
Step 4: Overlap and connect the next panels
Now for the next panel. To create a seamless barrier against debris, you need to overlap the panels. As you place the second panel, slide it over the edge of the first one by about half an inch to an inch. This overlap is critical; it prevents leaves and twigs from sneaking into any gaps between the sections. Once you have the overlap right and the new panel is sitting correctly, secure it with screws just like you did the first one. Continue this process of overlapping and securing panels all the way down the length of the gutter, creating a strong, connected system.
Step 5: Trim panels to fit corners and ends
You'll eventually run into a corner or reach the end of a gutter section. It's rare that the last panel will be a perfect fit, so you'll need to do some trimming. This is where a good pair of tin snips comes in handy. Carefully measure the length you need for the final piece and mark your cut line. Place the panel on a stable surface (not your lap!) and make a straight, clean cut. For inside or outside corners, you may need to make more complex miter cuts. Take your time to get a snug fit, as this ensures complete protection around your entire gutter system.
Step 6: Seal all joints and gaps
With all the panels cut and screwed into place, there's one final protective step: sealing the joints. Even with careful overlapping and cutting, tiny gaps can exist where panels meet, at corners, and at the end caps. These gaps can let in water and small debris. To prevent this, apply a thin bead of an outdoor-grade, waterproof sealant to all these connection points. This small detail makes a big difference in preventing leaks and ensuring every drop of rainwater is channeled exactly where it needs to go, protecting your fascia and foundation from water damage.
Step 7: Test the drainage
Your gutter guards are installed, but the job isn't done until you've tested your work. Grab your garden hose and run water over the roof and into the gutters. Watch how the water flows across the guards and into the gutter channel. Make sure it drains quickly and completely through the downspouts without pooling or spilling over the sides. This test confirms that your guards aren't blocking water flow and that your entire system is ready to handle the next downpour. A healthy gutter system is a key part of your home's overall residential roofing protection.
Common Gutter Guard Installation Mistakes to Avoid
Installing gutter guards seems straightforward, but a few common slip-ups can lead to bigger problems down the road. Getting it right the first time saves you from leaks, roof damage, and the headache of redoing your work. Think of it as an investment in your home’s health. A proper installation ensures your gutters can do their job effectively, protecting your foundation, siding, and landscaping from water damage. Let's walk through the mistakes I see most often so you can avoid them and get a professional-quality result that lasts for years.
Attaching guards to the roof
It might seem like a sturdy spot, but you should never attach gutter guards directly to your roof shingles. Screwing anything into your roofing material creates holes, which are open invitations for water to seep in and cause rot, mold, and leaks in your attic. This small mistake can lead to significant and costly damage over time. Even worse, it can void your roof’s warranty, leaving you on the hook for future repairs. A proper installation involves securing the guards directly to the gutter itself, preserving the integrity of your residential roofing system and ensuring both your roof and gutters can function as intended.
Using the wrong screws or overtightening them
The small details matter, and your choice of screws is more important than you might think. Always use the rust-proof screws or clips that come with your gutter guard kit. If you need to buy your own, choose high-quality, self-tapping screws designed for outdoor use to prevent rust streaks from staining your gutters. Just as important is how you tighten them. Overtightening can crack the guard or strip the screw hole, making the connection weak. If the screw is too loose, the guard can shift or rattle in the wind. You’re looking for a snug fit that holds the panel firmly in place without putting stress on the material.
Skipping the cleaning and inspection steps
It’s tempting to install new guards right over your existing gutters to save time, but this is a critical error. Installing guards over clogged, damaged gutters just traps the problem underneath. Before you begin, you must thoroughly clean out all leaves, twigs, and gunk. Once they’re clean, perform a detailed inspection. Look for sagging sections, loose hangers, rust spots, and leaks. Pour some water into the gutters to check that they have the correct slope and drain properly. Fixing these underlying issues before you install the guards ensures your entire gutter system is in top shape and ready to be protected.
Leaving gaps between panels
The entire point of a gutter guard is to create a seamless barrier against debris. Even tiny gaps between panels or at the corners can defeat the purpose, allowing leaves, seeds, and pine needles to slip through and cause clogs. When you place the panels, make sure to overlap them slightly, following the manufacturer’s instructions. A good rule of thumb is to overlap them in the direction that water flows, which helps create a smoother channel. Also, check that your gutter hangers are secure, as the guards will add extra weight, especially when wet. A tight, gap-free fit is the key to a low-maintenance system.
Installing in bad weather
Planning your installation around the weather forecast is crucial for both safety and success. Working on a ladder during high winds, rain, or freezing temperatures is extremely dangerous and should always be avoided. Beyond personal safety, weather affects the installation itself. Most sealants and adhesives require mild, dry conditions to cure properly. Installing them in the cold or wet can prevent them from creating a strong, waterproof bond, leading to leaks later on. For best results, aim for a clear, calm day with temperatures between 40°F and 85°F. This gives your materials the best chance to set correctly.
Forgetting to seal the joints
Overlapping your gutter guard panels is the first step, but sealing the joints is what makes the system truly waterproof. This is a step that DIY installers often forget, yet it’s essential for preventing leaks. Using a high-quality, outdoor-grade silicone sealant, apply a bead where the guard panels meet, at the inside and outside corners, and around the end caps. This creates a continuous, sealed surface that forces all water to flow into the gutter and down the spout, rather than dripping through small cracks along the way. Taking a few extra minutes to seal every seam will make a huge difference in performance.
Not testing your work
Once the last screw is in and the sealant is dry, your job isn't quite done. The final step is to test your work to make sure everything is functioning perfectly. Grab a garden hose and run water over your roof, simulating a steady rain. Watch carefully to see how the water behaves. Does it flow smoothly over the guards and into the gutter? Does it drain quickly through the downspout? Or does it spill over the edges or leak through a joint you missed? This simple test helps you catch and fix any small issues right away. It’s a final quality check that gives you peace of mind, knowing your hard work paid off and your home is protected.
Does Your Local Climate Affect Installation?
It’s a smart question to ask, and the answer is a definite yes. The gutter guards that work perfectly for a home in a dry, desert climate might fail completely here in Georgia. Your local weather patterns, from the intensity of the sun to the type of trees in your yard, play a huge role in determining which gutter guards will protect your home effectively and how they should be installed.
Thinking about climate isn't just about the installation day itself, although you should definitely avoid tackling this project in a thunderstorm. It’s about making a long-term choice. The right material and design will stand up to years of Atlanta’s hot summers and heavy downpours, while the wrong one could warp, crack, or cause the very clogs you’re trying to prevent.
Choose guards suited for your weather
Not all gutter guards are created equal, especially when it comes to weather resistance. Some materials, like certain plastics or foam inserts, can degrade and become brittle under the intense UV rays of a Georgia summer. They might seem like a good budget option initially, but they often can't handle our climate's demands. You need a system designed to manage both heavy rainfall and the specific types of debris common to our area, like pine needles and oak tassels. Micromesh guards, for example, are often a great fit because they block fine debris while allowing water to flow through freely, even during a sudden downpour.
How Atlanta's weather impacts your gutters
Here in the Atlanta area, our homes deal with a unique mix of weather challenges. We get plenty of rain, high humidity, and lots of pollen and pine needles. This combination can quickly turn your gutters into a sludgy mess, leading to water overflow that can damage your foundation, siding, and landscaping. A durable gutter guard system is your first line of defense. When you select and install guards, you have to account for the sheer volume of water from our thunderstorms and choose a material that won’t warp in the summer heat. Properly installed guards will protect your gutters and keep them flowing freely, saving you from constant cleaning and potential water damage.
Keep Your Gutter Guards Working Like New
Gutter guards are fantastic for reducing your home maintenance to-do list, but they aren't a "set it and forget it" solution. Think of them as a low-maintenance system, not a no-maintenance one. To keep them protecting your home effectively, they need a little attention now and then. A small amount of upkeep ensures your guards, gutters, and even your home's foundation stay in great shape for years to come.
Just like any other part of your home's exterior, your gutter guards are exposed to the elements 24/7. They face everything from falling leaves and pine needles to heavy rain and intense sun. Taking the time to perform simple checks and cleanings will prevent small issues from turning into big, expensive problems. This proactive approach is the key to getting the most out of your investment and keeping your gutter system functioning perfectly.
How often to inspect and clean your guards
A good rule of thumb is to inspect your gutter guards at least twice a year. The best times are in the late fall after most trees have dropped their leaves, and in the early spring before heavy seasonal rains begin. It's also smart to take a quick look after any major storms with high winds. During your inspection, look for any debris like leaves, twigs, or shingle grit that has collected on top of the guards. Most of the time, you can simply brush this off with a broom or rinse it with a hose. This simple step keeps water flowing freely into your gutters instead of sheeting over the edge.
Signs your gutter guards need attention
During a rainstorm is the perfect time to spot problems. If you see water pouring over the sides of your gutters, it’s a clear sign that something is wrong. The guards might be clogged with fine debris, or the gutters themselves could be blocked. Another red flag is any visible sagging in your gutters or the guards. Also, check your downspouts to make sure they are clear and effectively channeling water at least four to six feet away from your home’s foundation. If you notice water pooling near your house or stains on your fascia boards, it’s time for a closer look. These are all indicators that your gutter system needs professional repair or maintenance.
Understand your warranty
Before you drive the first screw, take a moment to read the fine print. Improper installation can be a costly mistake, as it can void both the gutter guard’s warranty and your roof’s warranty. Many roofing systems have strict rules about what can be attached to or installed under the shingles. Using the wrong fasteners or placing them incorrectly could compromise your roof and leave you without coverage if a problem arises. When you work with a certified professional, you not only get a correct installation but also the peace of mind that comes with protecting your existing warranties. As an Owens Corning Platinum Preferred contractor , we understand how these systems work together and ensure every installation is done right.
When to Call a Professional Instead
I get it, the satisfaction of a completed DIY project is hard to beat. But when it comes to your home’s exterior, some jobs are best left to the experts. Installing gutter guards might seem straightforward, but a few missteps can lead to bigger, more expensive problems down the road. If you find yourself hesitating at any point, it’s a good sign to consider calling in a pro.
One of the biggest risks of a DIY installation is accidentally voiding your warranties. Many gutter guard manufacturers, and even your roof's warranty, can be voided if the products are installed incorrectly. An improper installation can also cause serious issues like roof damage or persistent leaks, completely defeating the purpose of having guards in the first place. If your roofline is complex, has multiple levels, or features steep pitches, the job becomes significantly more challenging.
Let’s not forget about safety. Working on a ladder for an extended period carries inherent risks. Professional installers have the right safety equipment and training to get the job done without incident. They also have the experience to ensure your gutter system is installed perfectly, protecting your home from water damage and giving you peace of mind. If you’re not completely confident with your tools, heights, or the specific installation steps for your chosen guards, hiring a professional is a smart investment.
Related Articles
- The Ultimate Guide to Gutter Guard Installation
- Are Gutter Guards Worth the Cost? A Homeowner's Guide
- Architectural Asphalt Shingles: A Homeowner's Guide
Frequently Asked Questions
Will gutter guards stop absolutely everything from getting into my gutters? While high-quality guards, especially micromesh systems, are incredibly effective at blocking leaves, pine needles, and other large debris, no system is 100% foolproof. Over time, very fine particles like shingle grit or pollen can accumulate on top of the guards. That's why we call them a low-maintenance solution, not a no-maintenance one. A quick rinse with a hose or a sweep with a soft brush once or twice a year is usually all it takes to keep them working perfectly.
How long does it take to install gutter guards myself? This really depends on the size of your house and how comfortable you are on a ladder. For an average-sized home, you should set aside a full weekend. Rushing the job is the fastest way to make mistakes. You need to factor in time for thoroughly cleaning and inspecting your gutters first, then carefully measuring, cutting, and securing each panel. Patience is key to a safe and successful installation.
Can I install these on any type of gutter? Most modern gutter guards are designed to fit standard five or six-inch K-style gutters, which are the most common type on residential homes. However, if you have older, custom, or oversized gutters, finding a compatible DIY product can be tricky. It's essential to accurately measure your gutter's width before you buy anything. An ill-fitting guard will leave gaps, defeating the whole purpose of the project.
My roof is very steep. Is it still safe to install guards myself? I would strongly advise against it. Safety should always be your top priority, and working on a steep or multi-story roof dramatically increases the risk of a serious fall. Professional installers have the specialized safety equipment, training, and experience to handle challenging rooflines securely. For these types of jobs, making the smart choice to call a professional is always the right investment.
Will installing gutter guards affect my roof warranty? It absolutely can, which is one of the biggest risks of a DIY installation. Many roofing warranties are voided if you screw or nail anything into the shingles. That's why it's critical to choose a gutter guard system that attaches directly to the gutter or fascia board, not the roof itself. A professional installer will know exactly how to install the guards to protect both your roof and its warranty.